The Tactigon Tutorial
(Please note that this tutorial is work in progress)
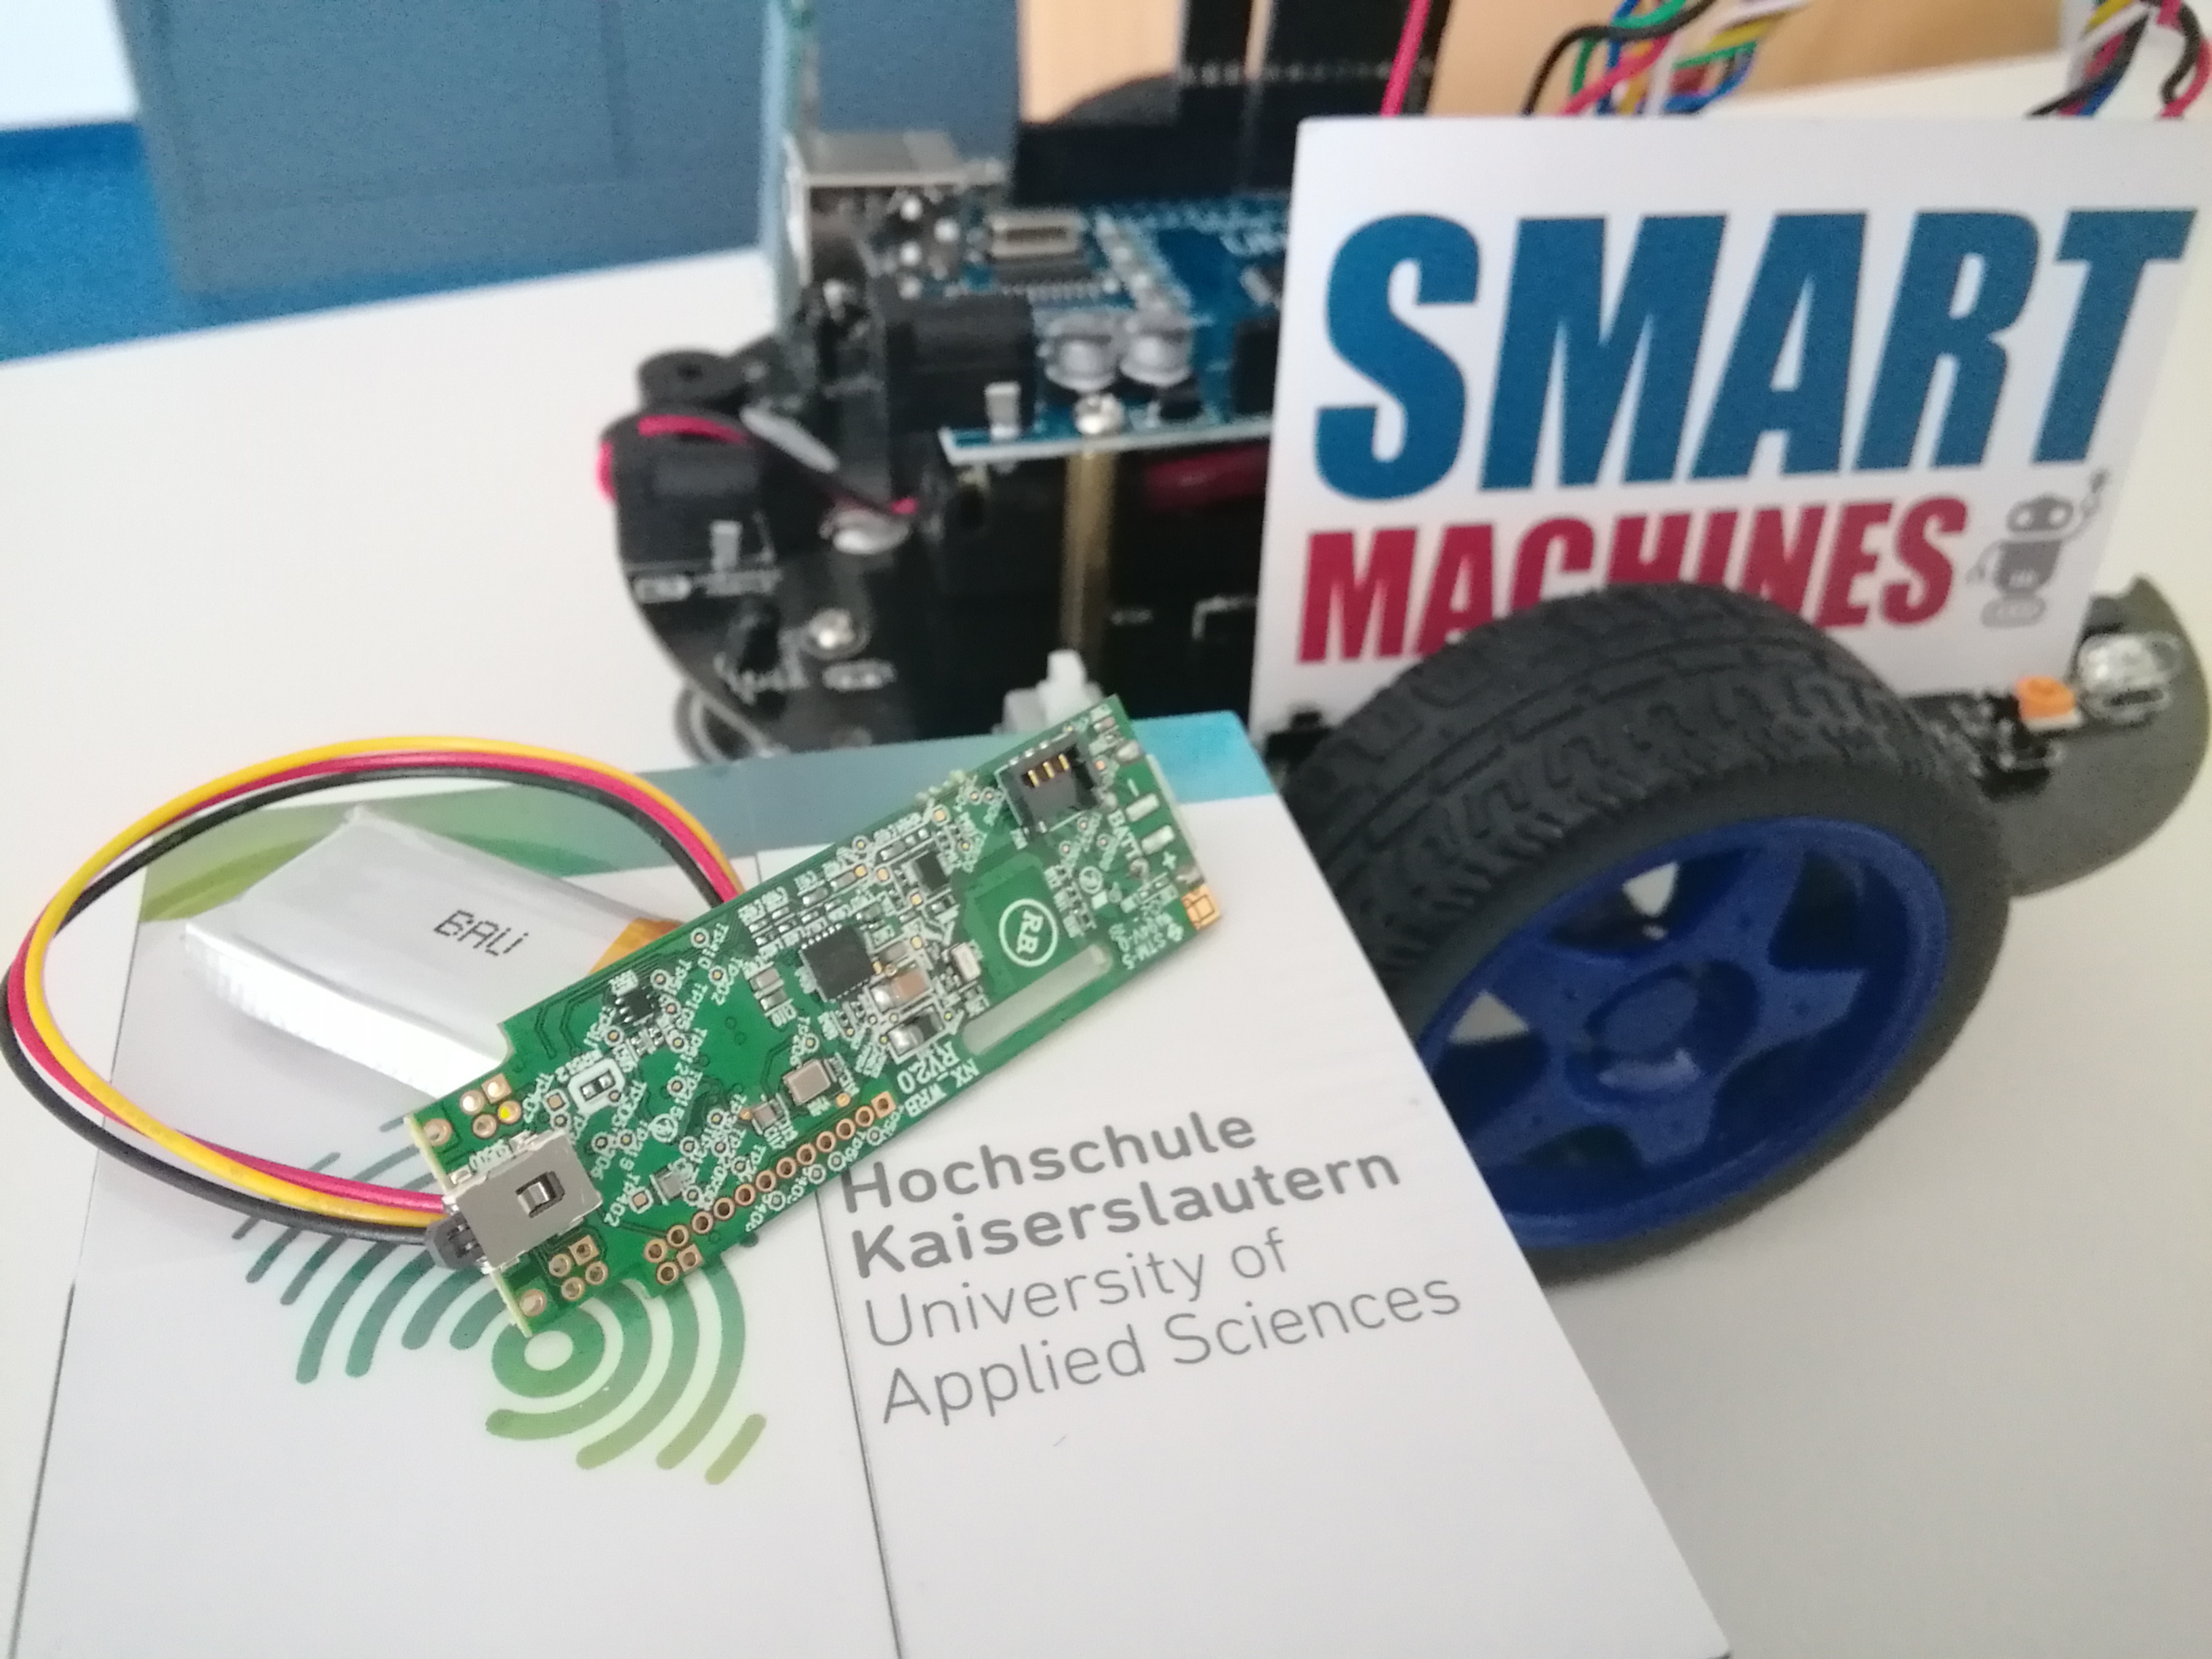
The Tactigon board (front)
Inhalt
Introduction
We appreciate your interest in programming intelligent machines. Here we show you what kind of materials, resources and know-how the working group Smart Machines has to offer. In addition, we are always available for questions and joint projects.
Our idea was to use soft- and hardware for gesture recognition to remotely control drones, mobile robots and robotic arms to intelligently support workflows. A very elegant and easy-to-use method to achieve this is the Tactigon board by Next Industries. It is a very small, easily programmable Arduino based board equipped with a gyroscope, an accelerometer and many other sensors to allow the detection of gestures, and it also comes with enough computing power to interpret them and make them useful.
The advantage of this approach is that the user can control machines intuitively through easily understandable and learnable gestures while retaining a free mind to focus on the actual problem they are working on, not on operating their equipment. And because the Tactigon uses Bluetooth, there are no wires to trip over, either.
In this tutorial we provide you with
- references to basic information to get you started
- example code and videos
- the full API documentation of the Tactigon
- game breaking issues that we’ve run into, and possible solutions
For advanced users who have already programmed an Arduino board, we have further information, for example on
- the technical implementation of gesture recognition
- how to tell the robot where it is, so it can accurately navigate
- the man-machine interface concept
To develop applications using the Tactigon, the working group Smart Machines has purchased the drone Crazyflie 2.0 among others. You can find all our information on the Crazyflie, including sample code for use with the Tactigon, on this page.
An important note to conclude: All members of the HS-KL can borrow the resources of the working group at any time; for use in lessons and tutorials, or even for a graduation thesis.
Getting started
Before you start, you’ll need a system running Windows (tested on 7 and 10, make sure to install the latest windows updates). The Tactigon is not yet compatible with Mac, Linux or other systems (as of September 2018). Additionally, you’ll need a USB-A to micro-USB cable to upload your sketches to the board.
Please note: The Tactigon uses Bluetooth Low Energy (BLE) for wireless communication. Make sure that any other devices you want it to communicate with also support BLE.
The Tactigon is based on the Arduino platform, so for everything to run smoothly, it is recommended that you use the official Arduino IDE for development. You can find it here.
After downloading and installing the IDE, follow this guide to prepare it for the Tactigon.
The full documentation of the Tactigon can be found here and here.
Please note: All code for the Tactigon must be written in C.
Bluetooth Low Energy
Follow this tutorial on how to set up BLE on the Tactigon. Please note that there are code samples at the very end of the linked page which the text refers to.
Points to consider:
- The role of Tactigon can be
CENTRALorPERIPHERAL, depending on the direction in which the connection is to be established. SeebleManager.InitRole(TACTIGON_BLE_CENTRAL);in the linked tutorial code above. - BLE is not a mandatory part of Bluetooth. Please make sure your hardware is compatible.
Basic concepts
When working with the Tactigon or other BLE devices, you’ll run into the following concepts:
- UART: Universal Asynchronous Receiver Transmitter. Standard serial interface between PCs and microcontrollers
- COM: Serial port interface. Refers not only to physical ports, but also to virtual ports, such as ports created by Bluetooth or USB-to-serial adapters.
- USB HID: Device that receives input from humans and gives output to humans.
- The Arduino IDE can monitor the current serial (COM) interface [screenshot pending]. This can be very useful for debugging — use
Serial.println("example text");to writeexample textto the COM port.
Sensor values, reading out values
For a list of all classes supported by the tactigon, click here.
Sensor classes:
Points to consider:
- The Tactigon runs at 50 Hz
- All sensors have ‚jitter‘, there are no clean movements
- Jitter errors accumulate over time, so the Tactigon needs to be recalibrated regularly
Calibration
- gyro can be calibrated, planar axis accData calibration is very complicated
- neutral position, offset on accData if board is flipped
- thermal drift
- using waypoints/virtual grid/… to re-sync the sensor values with real position
- calibration phase after initializing, lowPassFilter for permanent re-calibration
Simple gestures
- latency! What latency?
- simple, straightforward gesture with starting and end point
- using acceleration to detect position
- state machine to model typical user interaction
Complex gestures
- e.g. curving gestures, switching directions mid-gesture, etc.
- more complex math, combination of multiple sensors necessary, to model individual behaviour
Combining gestures
- combining multiple gestures
- time threshold between gestures
- anticipate gestures through decision tree (advanced: Hidden Markov Model) to minimize latency
IDE, Troubleshooting
- stable work environment;
- Sometimes, compiling your sketch will suddenly fail because the IDE doesn’t recognize the board anymore. If that happens, navigate to
C:\Users\YOUR_USERNAME\AppData\Local\Arduino15\packages\Next-package\hardware\stm32
If there is more than one subfolder, delete all but the most recent one. - boot loader windows 10, max baud rate (new boot loader available)
- linker error with long path names and German Umlaut (fix at 115k Baud availble)
- Sometimes, compiling your sketch will suddenly fail because the IDE doesn’t recognize the board anymore. If that happens, navigate to
- tools and gadgets available (eg. „plotter“ TactigonAll, Cube-Demo)